Setting Up Your Dcommerce Store in 5 Minutes
Dcommerce Team
Author
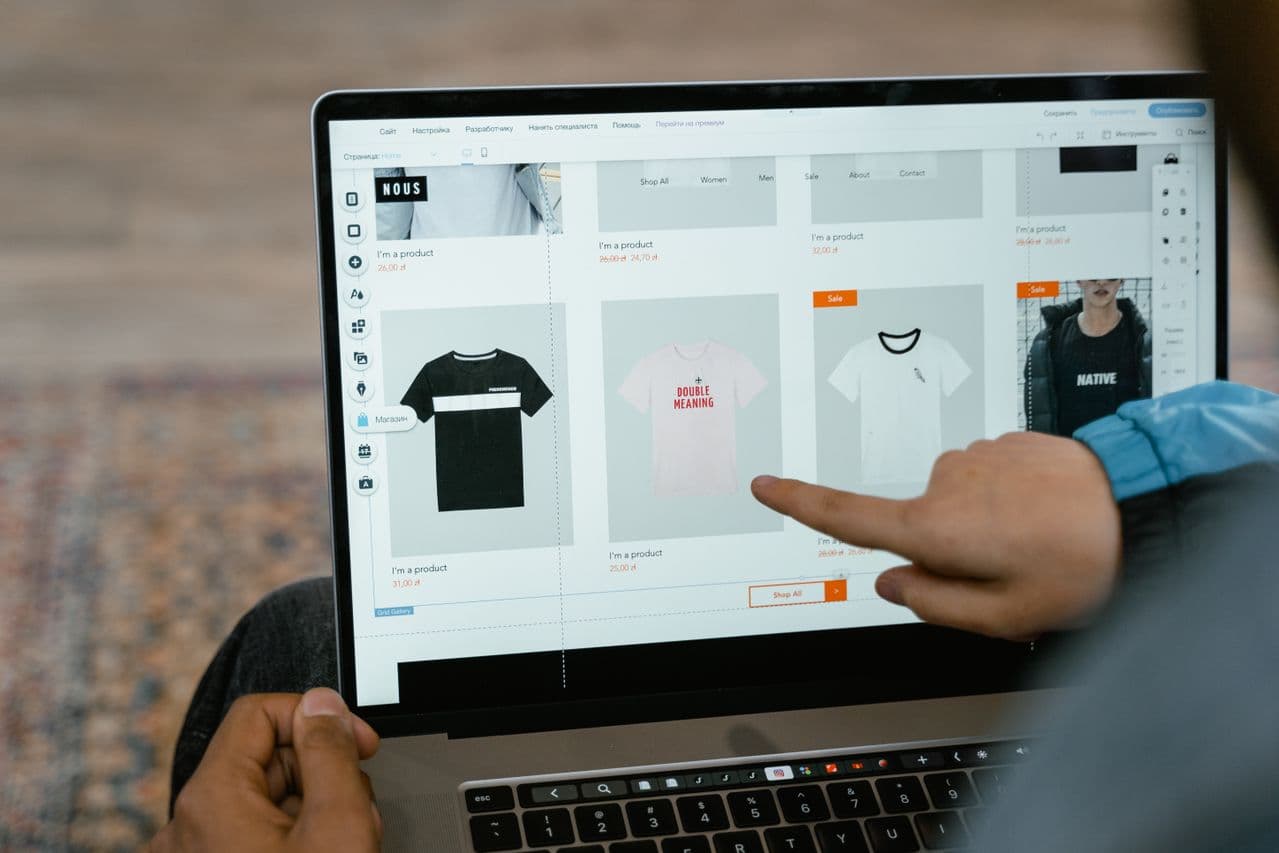
A few years ago, launching a real online store meant hiring a developer, buying hosting, and configuring a payment gateway from scratch, a process that could realistically take weeks. Setting up your Dcommerce store is designed to be genuinely fast, without needing any coding knowledge or technical background. Here's a step-by-step walkthrough of exactly what that process looks like from start to finish, so you know exactly what to expect before you begin.
Step 1: Claim Your Branded Subdomain
The first step is choosing your store's subdomain, which becomes your storefront's web address, such as yourbrand.dcommerce.in. This is your first real piece of branded digital real estate, distinct from a generic marketplace listing, and it's the link you'll eventually share in your Instagram bio and WhatsApp broadcasts to send traffic directly to your own store.
Step 2: Personalise Your Store Layout
Next, you personalise your storefront's layout and appearance directly from the merchant dashboard, adjusting elements like your store name, logo, and overall look to match your existing brand identity. Since you're likely already posting consistently on Instagram with an established visual style, carrying that same look, colours, and tone over to your storefront helps customers recognise your brand immediately when they land on your store for the first time.
Step 3: Add Your First Products
With your store shell ready, the next step is adding products. You can do this manually, entering titles, descriptions, and prices yourself, or use the AI-assisted listing feature, which generates a draft title, description, and price suggestion directly from a product photo, letting you review and adjust rather than writing everything from scratch. For your very first few products, it's worth choosing a small, focused starting selection rather than trying to upload your entire eventual catalogue on day one.
Step 4: Configure Payments and COD
Once products are live, confirm your checkout is set up to accept PhonePe payments and Safe COD, both of which come built into the platform rather than requiring separate setup with an external payment gateway. This step is largely a matter of confirming settings rather than complex configuration, since the payment infrastructure is already integrated directly into the storefront you just built.
Step 5: Put Your Store Link in Your Instagram Bio
With your store live and products published, the final step is simply putting your store link where your existing audience will actually see it, starting with your Instagram bio link, and ideally also referenced in your WhatsApp Business profile and story highlights. This single link becomes the destination for every piece of content you post going forward, turning casual viewers into potential customers with a direct, professional path to actually complete a purchase.
Why Speed of Setup Actually Matters
It's tempting to dismiss setup speed as a minor convenience, but for many Instagram and WhatsApp sellers, a complicated, weeks-long setup process is exactly what keeps them stuck taking orders manually through DMs indefinitely, even when they know a proper storefront would serve their business better. Removing that friction, so a genuinely usable store can go live in minutes rather than weeks, is often the single factor that determines whether a seller actually makes the transition at all, rather than continuing to postpone it indefinitely while managing spreadsheets and screenshots.
Planning Your First Product Selection Before You Start
While the technical setup itself is fast, spending a little time beforehand deciding which products to feature first makes the actual setup process smoother once you begin. Rather than uploading your entire inventory indiscriminately, identifying your strongest, most photogenic, most easily explained products in advance means Step 3 of the setup process moves quickly and results in a focused, compelling initial storefront rather than an overwhelming, unfocused one assembled without much forethought.
What Happens Behind the Scenes While You Set Up
While you're going through these steps, a few things are already working in the background without requiring separate setup: your storefront is being served on infrastructure designed for reliability and speed, Ekart logistics integration is ready to handle delivery once orders start coming in, and every order that gets placed will automatically generate a compliant invoice. None of these pieces need separate configuration, which is precisely what keeps the overall setup process fast rather than requiring you to individually wire up payments, logistics, and compliance as separate projects.
Managing Your Store Once It's Live
After launch, day-to-day management happens from the same merchant dashboard used during setup. Orders, customer support tickets, and dispatch through Ekart are all handled from one place, rather than requiring you to check multiple separate tools throughout the day. As your catalogue and order volume grow, this centralised view becomes increasingly valuable, since it means you're not piecing together your business's status from several disconnected systems every time you need to check on something.
Common Questions New Sellers Have During Setup
Do I Need to Know How to Code?
No. The entire setup process, from claiming your subdomain through to publishing your first products, is designed to be completed through the merchant dashboard without any coding or technical background required.
Can I Keep Selling on Marketplaces at the Same Time?
Yes. Many sellers run their Dcommerce store alongside existing marketplace listings, gradually shifting more of their promotional focus to their own storefront over time rather than needing to choose one channel exclusively from the start.
What If I Only Have a Few Products Ready?
That's a reasonable way to start. Launching with a small, focused selection and expanding your catalogue over the following weeks is often more effective than trying to have every product live before your very first day.
What to Do in Your First Week After Launch
Once your store is technically live, the real work shifts to driving traffic and making your first sales. Announce your new store to your existing Instagram followers and WhatsApp contacts, update your bio link everywhere it currently points elsewhere, and consider a small launch offer to encourage your first orders. Paying close attention to how those first visitors interact with your store, and being ready to answer questions quickly during this early period, helps build the initial momentum and trust that carries your store into steady, ongoing sales.
Bringing It All Together
Setting up your Dcommerce store genuinely takes a fraction of the time and technical effort that building an independent online store used to require, since branded storefront setup, payments, COD, invoicing, and logistics all come pre-integrated rather than needing to be assembled separately. For a seller who's been taking orders through Instagram DMs and wants to move to something more professional, the barrier to actually getting started has never been lower.